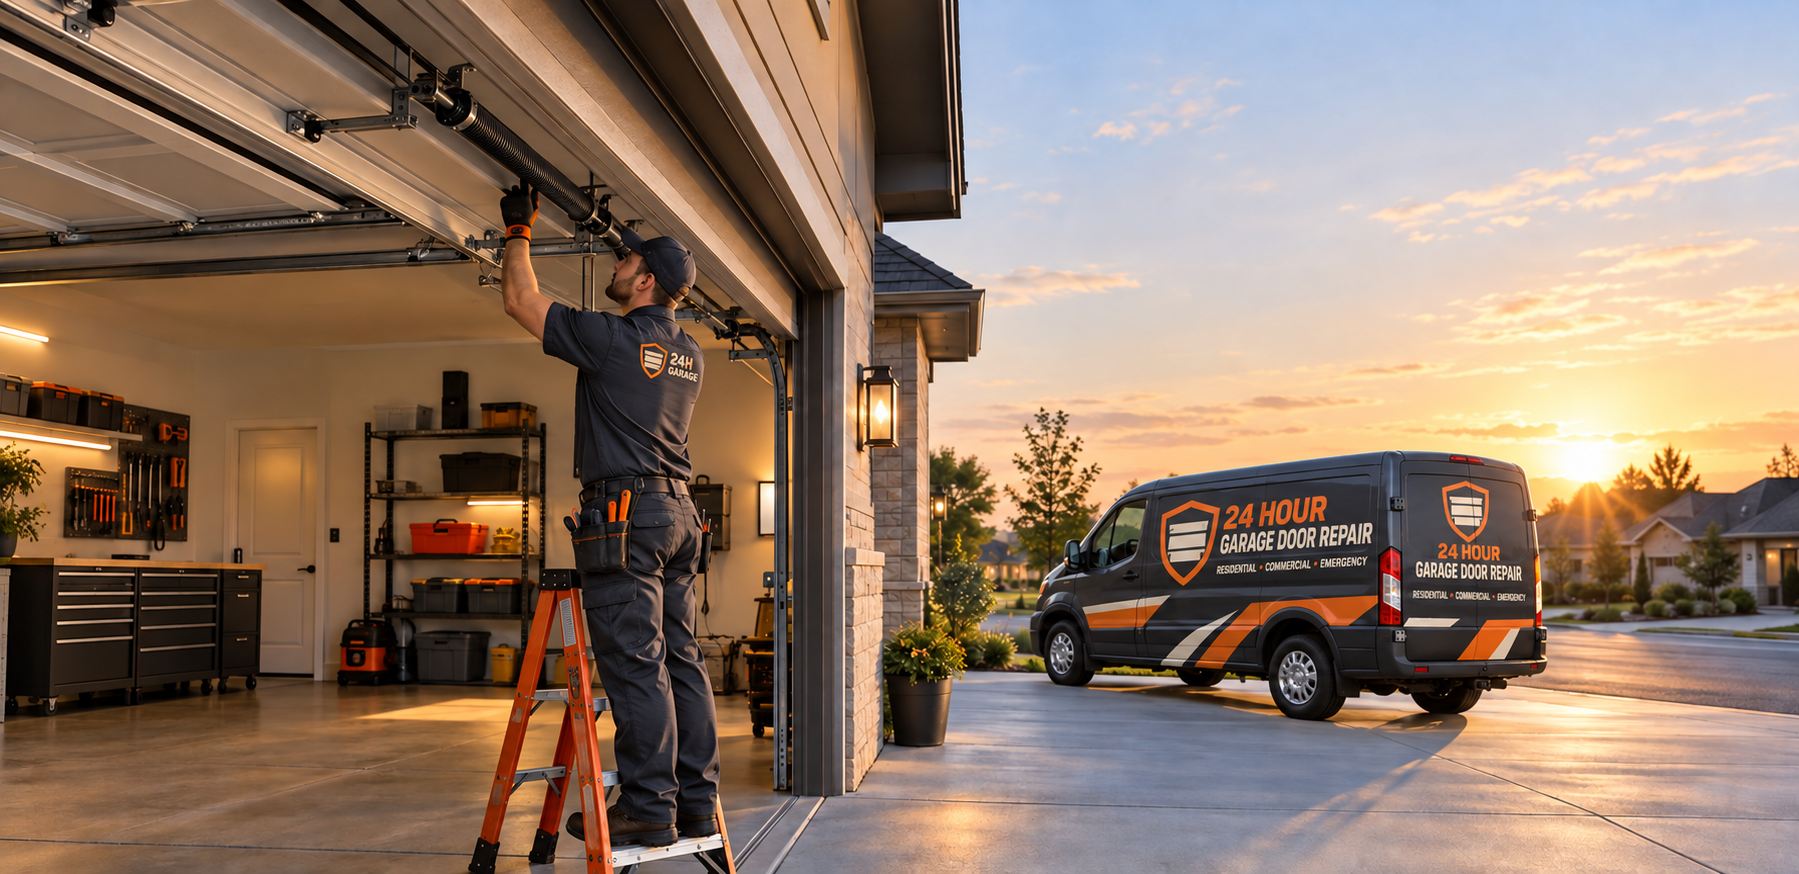
Why Miramar doors are hitting the same milestones now
Large parts of Miramar were developed within a short span of years, with neighborhood after neighborhood built by a handful of builders using similar products. When a whole subdivision is built with the same door model and the same opener package, the parts wear on a similar schedule. After roughly two decades of daily use, springs fatigue, rollers flatten, cables fray and opener gears lose their teeth. Owners who never thought about the garage door suddenly face several issues in a short period.
That clustering can feel like bad luck, but it is normal wear. Builder-grade doors are made to meet a price point, and the hardware reflects that. Springs are often rated for a modest number of cycles, rollers are basic, and the opener is a standard unit chosen for cost. None of this means the door is defective. It means the parts are reaching the end of their designed life, and that a careful upgrade of the wear items can give the door another long stretch of service.
- Springs: the first major failure for many doors from this era.
- Rollers and hinges: flattened rollers and loose hinges make the door noisy and rough.
- Cables and drums: wear develops slowly and fails suddenly.
- Openers: gears, trolley parts and circuit boards reach the end of their useful life.
The spring is usually first
In most Miramar garages, the first big event is a broken torsion spring. The sound is unmistakable: a sharp bang from the garage, sometimes strong enough that the family thinks something fell. After that the door feels extremely heavy if you try to lift it, and the opener either hums or strains without moving it much. This is the point at which many owners reach for the manual release and try to lift the door by hand. Please do not. With the spring broken, the door has nothing offsetting its weight.
Spring replacement involves removing the broken spring, fitting a new one sized to the door weight, winding it to the correct tension and balancing the door. Done properly, it takes skill and the right tools. Done improperly, it can injure people and damage the door. If your door has two springs and one has broken, the other has the same number of cycles on it and may be close behind. Ask the technician about replacing both. See broken spring repair and the torsion spring guide for more.
- Do not lift a door with a broken spring by hand.
- Do not use the opener repeatedly in that state, since it can strip gears.
- Ask what cycle rating the replacement springs carry.
Cable, drum and roller wear
Cables run from the bottom brackets up to the drums at the ends of the torsion shaft. When a door is raised and lowered, the cables wind and unwind on the drums. Over the years, the strands fray where they bend, and the cable can weaken in the section that sits around the drum or near the bottom bracket. Cable failure often follows a spring failure, since the shock of the spring break can stress the cable, but it can also happen on its own. A snapped cable lets one side of the door drop, leaving it crooked in the track.
Rollers are the part owners hear before they see. Standard builder rollers have small steel or plastic wheels, sometimes with loose bearings. As the wheels flatten and the bearings wear, the door rattles, shakes and scrapes in the track. Replacing rollers is a straightforward way to make a door quieter and smoother, and it also reduces wear on the track and the opener. Details are in cable and roller repair and the garage door rollers guide.
| Part | Typical sign of wear | Why it matters |
|---|---|---|
| Torsion spring | Gap in coil, loud bang, heavy door | Door is unbalanced and unsafe to lift |
| Cable | Fraying, rust, loose slack | Failure drops one side of the door |
| Roller | Noise, shaking, flat spots | Rough travel and track wear |
| Hinge | Loose, cracked, bent | Panels flex and can crack |
| Opener gear | Grinding, door stops partway | Opener may stop working |
Opener aging in 2000s homes
Openers installed in homes from this period are typically chain drive or belt drive units with a modest motor. After many years, plastic gears inside the drive can wear, the circuit board can fail and the remote receiver can lose sensitivity. Symptoms include a door that starts and stops, a remote that works only up close, a light that stays on or blinks, and a motor that hums without moving the trolley.
Some failures are inexpensive to fix and some point toward replacing the unit. A technician can tell the difference by looking at the unit and testing it. A worn gear kit may be available for some models. A failed board may be replaceable. If the opener is old enough that parts are scarce, a new opener may be the more sensible path, and it can bring modern safety features, a quieter drive and battery backup. See opener types explained and the opener installation process.
- Ask whether the drive type suits your garage, for example belt drive for quiet operation near bedrooms.
- Ask about battery backup if you want the door to work during outages.
- Ask what safety features the new unit includes.
Safety sensors and the reversal feature
Every modern opener is required to reverse the door if it meets an obstruction, and most use photo-eye sensors near the floor. In Miramar garages, those sensors are sometimes bumped by bicycles, bins or children's toys left near the door. A sensor that is out of alignment by a small amount will stop the door from closing, and the opener's light may blink to show the fault. Dirty lenses, a loose bracket or damaged wiring cause the same symptom.
Never disable or bypass safety sensors to get a door to close. Those sensors prevent injuries, most of all to children and pets. If the door will not close because of a sensor problem, clean the lenses, check the indicator lights and the alignment, and if that does not solve it, call for service. A technician can test the sensors, replace them and check the force and travel settings. See safety sensor repair and child and pet garage door safety.
- Keep the floor near the sensors clear of clutter.
- Clean the lenses with a soft dry cloth.
- Do not tape over or disconnect sensors.
Weather stress on a door in its second decade
After many seasons in South Florida heat, a door shows the effects of sun and moisture even when it has never been struck or abused. Paint and powder coat fade and chalk on south and west faces. Foam insulation can pull away from the skin on a hot door. Rubber seals harden and crack. Plastic window inserts yellow and become brittle. Fasteners that were tightened at installation work slightly loose through thousands of cycles of vibration.
A short seasonal routine finds these early. Look at the seal for cracks, the panels for bulges or separation, and the hinges for loose screws. Tighten visible hinge screws only if you can do so without touching spring or cable parts, or ask the technician to do it. Wash the door gently and rinse it. Lubricate hinges and roller stems with a garage-door-rated product. These are small jobs that add up. See summer heat and your garage door and garage door cleaning and care.
Hurricane season in a newer subdivision
Homes in this part of Broward County built in the 2000s were designed under stricter wind standards than older neighborhoods, but a garage door still needs to match the requirements for its opening. Doors that were rated when installed can lose strength over time if hardware loosens or corrodes. Before each storm season, take a few minutes to look at the track brackets, the bolts holding the track to the wall, the hinges and the weather seal. Loose fasteners should be tightened by a technician rather than guessed at.
If you are thinking about replacing the door, ask about wind rating and product approval, and check that the installer handles the permit, if one is needed. Read garage door wind rating explained and storm prep for your garage door. After a storm, check for dents, cracks, bent track and loose brackets before you use the door again.
- Do not run the opener if the door looks bent or has shifted.
- Keep records of the door's make and rating paperwork.
- Know how to disconnect the opener safely in an outage, or ask a technician to show you.
Repair or upgrade: how to think about it
At twenty years, a garage door sits at a decision point. The panels may be fine. The hardware is worn. Do you repair the parts that have failed, or do you refresh the whole set of wear items? Many technicians favor replacing springs, cables and rollers together on an aging door, because the parts have had the same use and the labor overlaps. That approach can give a door many more years and reduce the chance of a second call soon after the first.
If the panels are cracked, rusted through or sagging, replacement of the door may be the better route. An on-site visit is needed before quoting a new door, since the opening must be measured and the options reviewed. Look at replacement versus repair and the garage door lifespan guide for factors worth weighing.
- Describe the door and the failures to the dispatcher.
- Ask whether the wear parts should be refreshed together.
- Ask what the condition of the panels and track is.
- Decide whether repair or replacement fits your plans for the home.
Garage storage, ceiling racks and opener clearance
Garages in 2000s subdivisions tend to be tightly planned, and owners fill them quickly. Overhead storage racks, shelving on the side walls and bins stacked near the door are common. Those additions can interfere with how the door and opener work. Racks that hang low over the door travel path can catch the top section as it curves back into the horizontal track. Shelving that sits too close to the side of the door can block the track brackets or hide a fraying cable from view.
The opener needs room too. The rail and motor housing hang from the ceiling, and the door arm connects to the top of the door. Clearance matters, and when the opener light and the area around it are crowded with stored items, heat builds up and dust collects on the motor. Keep a clear zone around the opener, the springs and the door sides. It lets you notice problems early and gives a technician room to work safely.
If you plan to add racks, consider where the horizontal track runs and how far the door travels back into the garage. A technician can point out the clearances needed for your particular door type if you ask during a visit. It is a small question that can save a bent track later.
- Keep the area within arm reach of each side of the door clear for visual checks.
- Do not hang anything from the door track, the springs or the opener rail.
- Leave open space around the opener motor so it does not trap heat.
Rolling out upgrades the sensible way
When several parts are worn, owners often ask what to do first and what can wait. A practical order starts with safety and function. Anything that could drop the door or injure someone comes first: broken springs, frayed cables, loose brackets, missing sensors. Next come the parts that cause secondary damage if left alone, such as flattened rollers that wear the track and an out-of-balance door that strains the opener. Comfort items such as a quieter drive, a keypad or a smart controller come last.
A technician can lay out this order on a visit and explain which items are urgent and which can be scheduled later. Ask for the findings to be explained in plain terms, with the reason behind each recommendation. A good explanation sounds like a description of what the part does, how it looks now and what happens if it fails. If you do not follow the explanation, ask again. You are entitled to understand the work before you approve it. For more on this approach, see safety inspection and preventive maintenance.
- Safety items: springs, cables, brackets, sensors.
- Items that cause secondary damage: rollers, hinges, balance.
- Opener repairs that restore normal function.
- Comfort and convenience upgrades such as keypads, quieter drives and smart controls.
What to have ready when you call
A short list of details speeds up the call. Know the approximate age of the home and the door, the number of car spaces, whether there are windows or insulation, and the brand of the opener if you can read it. Describe what happened: a bang, a grinding noise, a door that stopped halfway, a remote that stopped working. If you tried anything, say so. Mention whether the door is currently open or closed and whether the vehicles are inside, since a stuck door with a car inside is a different situation.
Quotes are given only by phone, and complicated jobs need an on-site visit. There is a service call charge, explained before anyone is dispatched. We do not promise arrival windows. Be ready to move vehicles and clear the work area when the technician arrives. Review how to describe your door problem for a few more tips.
When you are ready, call and describe what your door is doing. A short conversation will tell you what the next step looks like.
Questions people ask
My Miramar home is not that old. Why is the door failing already?
Builder-grade doors are made with parts rated for a fixed number of cycles. A busy household can use up that rating within a couple of decades. Springs, rollers and cables wear out naturally, and when a neighborhood was built at the same time, the doors often reach that point together. It is normal wear, not necessarily a defect.
Should I replace both springs if only one broke?
On a two-spring door, both have been through the same cycles, so the second is likely near the end of its life. Many technicians recommend replacing them together. Ask the technician to explain the condition of the second spring and what they recommend, so you can make an informed choice.
Why does my opener light blink and the door will not close?
A blinking light often signals a safety sensor problem, such as misalignment, a dirty lens or a wiring fault. Check that both sensors have steady indicator lights, clean the lenses and clear anything blocking the beam. If it still blinks, call. Never bypass the sensors to force the door closed.
Is it better to repair the old opener or buy a new one?
It depends on the fault and the age of the unit. A sensor, receiver or limit issue is often repairable. A worn motor or discontinued parts may point toward replacement. A technician can inspect the opener and explain the options. Quotes are given by phone, and complicated work includes an on-site visit.
Can I do hurricane prep on my garage door myself?
You can clear the area, move vehicles and visually inspect for loose parts. You should not adjust springs, cables or brackets. For bracing, wind rating and replacement questions, a technician can advise on options and the building department sets permit rules. Do this before storm season rather than when a storm is approaching.
How long will a repair visit take?
It depends on the job. A sensor or remote fix is short. A spring and cable replacement takes longer, and a full door or opener installation can take much of a day. The technician can give a sense of the time once they have inspected the door. We do not promise arrival windows because traffic and prior jobs vary.
Dealing with "Miramar Garage Door Repair Guide"? Tell us the door type, the noise or the failure, and what you tried. We will say what the job probably involves and whether it needs a technician on site.