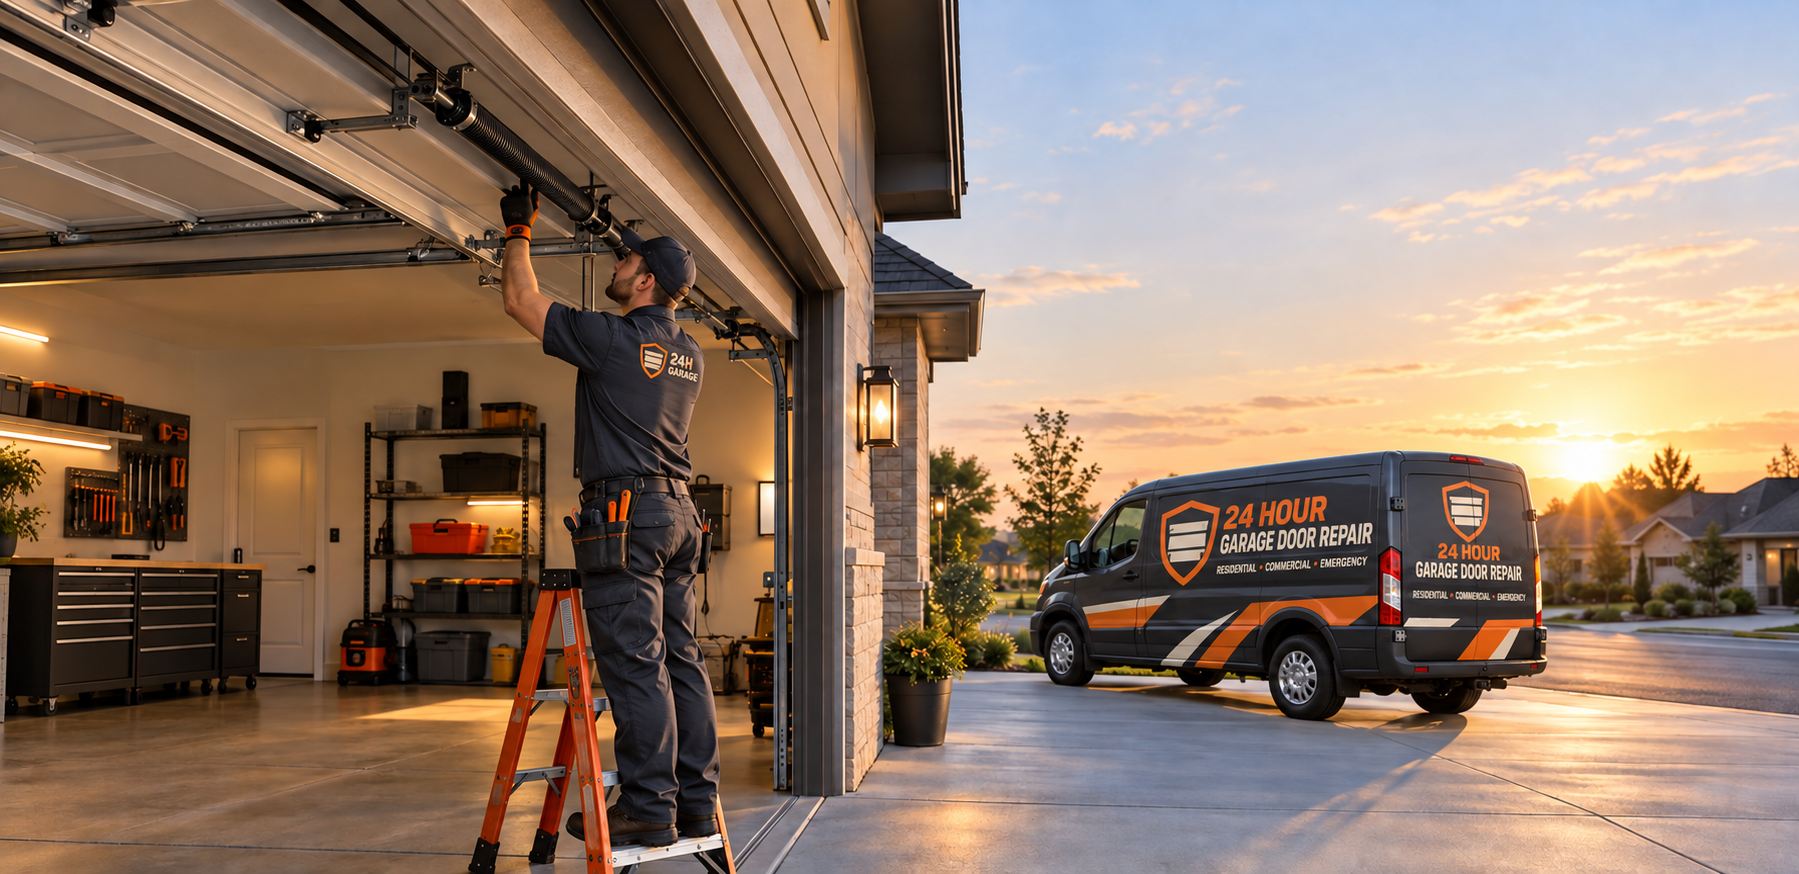
Why the door comes first
A new opener is only as good as the door it moves. The opener does not carry the door's weight. The springs do. If a spring is weak or broken, if a cable is frayed, if a roller is worn or a track is bent, the opener will struggle, wear out and possibly fail early. That is why a careful installation begins with the door, not with the box that holds the new motor.
The installer disconnects any existing opener, closes the door and lifts it by hand. A balanced door stays in place at about the halfway point and feels fairly light. If the door is heavy, drops or rises on its own, the springs are out of balance and need attention before any opener goes on. That work is for trained hands, because torsion and extension springs hold a lot of stored energy. Our page on spring repair explains why.
The installer also looks at rollers, hinges, cables, tracks and the top section of the door, where the opener's arm will attach. A cracked or thin top panel may need reinforcement, since the opener will pull on it every cycle. Skipping this inspection is the most common reason that new openers underperform.
Choosing the opener type and capacity
Before installation, the opener has to suit the door and the garage. The drive type affects noise and upkeep, with chain, belt, screw and direct drive each having tradeoffs. The capacity must suit the door's weight, which depends on materials, insulation, windows and size. A side-mount jackshaft unit may be the answer where headroom is tight.
These choices are covered in opener types explained, opener horsepower and capacity and wall mount openers. The key point for installation is that the decision is made after the door is inspected, not before, since the inspection reveals what the opener has to work with.
Features such as battery backup, smart controls, keypads and additional remotes are planned at the same stage. Battery backup is especially relevant in South Florida, where storms regularly cut power. It is easier to include these at installation than to add them later, since wiring and programming happen together.
Preparing the garage
The installer needs access and clear space. Cars should be out of the garage, and shelves or items near the door or ceiling should be moved or ready to move. The area above the door, where the header bracket will go, needs to be reachable. A power source, usually an outlet near the center of the ceiling, must be available or planned.
If a new outlet is needed, it is a task for a qualified electrician or the installer's qualified electrical help, since it involves household wiring. Do not run extension cords as a permanent solution, and do not attempt to wire an outlet yourself unless you are qualified. The opener should plug into a grounded outlet, preferably on a surge-protected circuit, which suits Florida's frequent lightning.
Tell the installer about anything unusual, such as a finished ceiling, ductwork, plumbing, an attic hatch or a second-floor structure above the garage. These shape where the unit can mount and how the wire runs. Mentioning them on the phone avoids surprises on the day.
Assembling and mounting the rail
On a standard ceiling-mounted unit, the rail is assembled first. The sections are joined, the chain, belt or screw is installed, and the trolley is placed on the rail. The rail is attached to the motor head at one end and to a header bracket on the wall above the door at the other end. The header bracket is fastened to solid framing, not to drywall alone, since it carries significant force each cycle.
The head unit is hung from the ceiling with brackets or hanger straps, attached to joists or other structural members. The rail is leveled so it is straight and square to the door. In block homes, the installer deals with masonry anchors where needed, and in homes with finished ceilings, locating framing takes care.
Correct placement determines how smoothly the door moves. If the header bracket is off center or too high or low, the door may bind, or the arm may pull at a bad angle. Installers measure carefully, because moving the bracket later means new holes and more wear on the wall. For how to think about mounting hardware, see the fasteners and bolt sizing page.
Connecting the arm and trolley
A bracket is attached to the top section of the door, centered, and reinforced if the panel is thin. The opener's arm connects the trolley to this bracket. Some arms are straight, others curved, and the geometry is set so that the arm pulls the door up and pushes it closed without binding.
The emergency release cord is attached to the trolley, and the installer sets it so that it hangs within reach from the floor but is not easily hooked from outside. They test the release with the door closed to confirm that it disconnects the trolley and that the door moves freely by hand. Our page on emergency release cords explains how the release works and when it is safe to use.
This is a good moment for the installer to check the door's balance again with the arm attached. If the door was balanced earlier and now drifts, something changed during mounting, and they address it.
Wiring the unit and wall control
The opener's power is typically a plug-in cord, though some are hardwired. Low-voltage wires run from the head unit to the wall control and to the safety sensors. These wires are usually thin bell-style wire, stapled along the wall or ceiling, and connected at terminals on the unit. The installer takes care to avoid pinching or crushing the wire and to keep it away from the door's moving parts.
The wall control goes in a convenient place, typically inside the garage near the entry door, at a height that keeps it out of reach of small children. Many controls include a lock or vacation mode, and some have a light. Keypads and smart bridges are set up at this stage too.
Any work that involves mains-voltage wiring should be done by someone qualified. The installer handles the low-voltage side routinely, and if a new outlet or circuit is needed, a qualified electrical contractor does that part. If you want to know who is doing what, ask before the day of the visit.
Safety sensors
Modern openers include photoelectric safety sensors, a pair of small units mounted on each side of the door near the floor. They send an invisible beam across the opening. If something interrupts the beam while the door is closing, the door stops and reverses. This protects people, pets and objects.
The sensors must be mounted at a low height, facing each other and aligned. They mount to the track or the wall with brackets, and the wires run back to the opener. Misaligned or loose sensors are one of the most common reasons a door will not close, and they are among the most common mistakes in a hasty installation. See safety sensor alignment for how alignment works.
The installer aligns the sensors, confirms that indicator lights show a good beam and tests the reversal. They explain to the household that the sensors should be kept clean, unblocked and not bumped by stored items. Boxes, bags and hoses placed near the sensors cause nuisance reversals.
Setting limits and force
Once the unit is powered, the installer programs the travel limits. The open limit tells the opener where to stop at the top, and the close limit tells it where to stop at the bottom. Set correctly, the door seals against the floor without being slammed down, and rises to the right height without hitting the stops. Many modern units learn limits through a guided process, while others use adjustment screws or dials.
Force settings control how much resistance the opener will tolerate before stopping and reversing. Too low, and the door reverses at slight resistance and refuses to complete a cycle. Too high, and the opener may push through an obstruction and defeat its protective purpose. The goal is the lowest force that moves the door reliably through its entire travel. Our page on limit and force settings explains what each setting does.
These are not settings to experiment with at home. If the door has trouble, the cause is usually something mechanical, and raising the force to compensate hides the problem and reduces safety. A technician sets and tests them carefully.
Programming remotes and keypads
With the door running, the installer programs the remotes, the keypad and any vehicle-integrated controls. Modern systems use rolling codes, which change every time the remote is used, to prevent copying. Each device is paired with the opener through a learn button on the head unit. The process is quick, but it should be done in the right order, and old remotes from a previous opener will usually not work with a new unit.
Smart controls, which connect the opener to a home network and a phone app, are set up at the same stage. They need a reliable Wi-Fi signal in the garage, which is not always present in a block structure. Mention if you want this, and mention if your signal is weak. Our smart opener and Wi-Fi page covers what to expect.
Households with several vehicles, family members or guests should think about how many remotes and keypad codes they need and how they will manage them. The installer can explain how to clear and reset codes, which is useful if a remote is lost.
Testing before the job is complete
A responsible installation ends with testing. The installer runs the door through several full cycles, watching for smooth travel, correct stops and unusual noise. They test the auto-reverse by placing an object, often a block of wood or a roll of material, in the door's path and confirming that the door reverses on contact. They block the sensor beam while the door is closing and confirm that it stops and reverses.
They test the manual release and re-engagement, the wall control, remotes, keypad and any extra features such as the light and battery backup. They also check that the opener, rail and brackets are tight and that no tools or leftover parts are left in the garage.
Before leaving, the installer should walk you through operation, show you where the release is and how it works, and explain basic care and what to avoid. If anything is unclear, ask. Our page on what to expect on a service call describes how a visit generally unfolds.
What can go wrong, and how to avoid it
Most problems with new openers come from shortcuts. Installing over a failing spring, mounting into weak framing, misaligning sensors, overpowering the door with high force settings, or skipping the reversal test are common causes. Mounting a header bracket into drywall instead of a stud is another, and it can fail suddenly under load.
Another frequent issue is a mismatch between the opener and the door, such as a unit too light for a heavy door or a rail too long for the headroom. A third is ignoring local conditions. In South Florida, moisture, heat and lightning shorten the life of unprotected electronics, and a surge protector and ventilation are worthwhile.
If you are installing a new door at the same time, the sequence matters. The door goes in first, balanced and adjusted, and the opener follows. Our new door installation process page explains that order. When door and opener are chosen together, the result usually works better than when either is added to an unknown partner.
Do it yourself or hire a professional
Some homeowners are tempted to install an opener themselves, and many manufacturers sell kits with instructions. The assembly of the rail and the mounting of the unit are possible for a handy person. The risk lies in the parts that look easy but are not: reading the door's balance, dealing with springs, setting force and limits correctly, and testing the reversal. A mistake there can cause injury or damage.
Springs and cables should never be adjusted by an untrained person. If the door is out of balance, stop and call. If you are working overhead, take care with ladders, and do not work alone on a heavy unit. If you are not confident, a professional installation brings tested settings and a check of the whole door.
Whichever way you go, the quote question is handled by phone. We do not post prices, and complicated jobs need an on-site visit. The service call charge is explained before anyone is dispatched.
Example installations
In a Plantation home with an older chain opener that has failed, the installer finds the door slightly heavy. Adjusting the spring system comes first, then a new belt drive unit is installed, wired, set and tested. The family notices the garage is much quieter.
In a Pompano Beach townhome, a technician finds that the header above the door is thin drywall over a narrow stud. The header bracket is relocated to solid framing. The opener runs smoothly, and the installer explains why the first location would have failed.
In Coconut Creek, a household adds a new opener with battery backup before hurricane season. After installation, the installer shows them how to use the release and how the backup works during an outage. Each job followed the same order: door, mounting, wiring, settings, test.
Before you call
To help the call go smoothly, describe the door: single or double, steel, wood or other, any windows or insulation, and how it feels when lifted by hand if you have tried. Mention the current opener if any, its age and brand, and what you want from a new one: quiet operation, battery backup, smart control. Note the ceiling height and anything overhead.
Quotes are given by phone, and more involved jobs need a visit first. When you are ready, call and describe your garage, and we will explain how the process would work for your door.
Questions people ask
How long does an opener installation take?
It depends on the door, the unit and the condition of the framing and wiring. A straightforward replacement is usually a part of a day, while jobs involving spring work, reinforcement or new power take longer. The technician can give a sense of timing once they have seen the door.
Do I need to replace my door to install a new opener?
Not usually. If the door is in sound condition and balanced, a new opener can be installed on it. A technician checks springs, cables, rollers and the top panel first. Worn parts may need repair, and a badly damaged door may be better replaced.
Will my old remotes work with the new opener?
Often not. Different brands and generations use different signals, and rolling security systems pair device by device. The installer programs the remotes and keypads you want to keep if they are compatible, and supplies new ones where they are not.
Do I need a new outlet in the garage ceiling?
If there is no grounded outlet near the unit, one is needed. Do not rely on extension cords as a permanent solution. Electrical work involving household wiring should be done by someone qualified, and the installer can tell you what is needed after seeing the garage.
What safety tests should be done after installation?
The installer should test the auto-reverse with an object in the door's path, block the sensor beam while the door closes, check the manual release and run several full cycles. Ask to see these tests. You can repeat the object test periodically to confirm the protection still works.
Can I install a garage door opener myself?
Some people do, but the door's springs and balance, the mounting into solid framing, and the force and limit settings are the risky parts. A mistake can injure someone or damage the door. If you are not confident, professional installation includes testing and a check of the whole door.
For "How Opener Installation Works", a phone call comes first. Describe the springs, the opener or the panels, and we will explain how the work is done and what the visit charge covers.