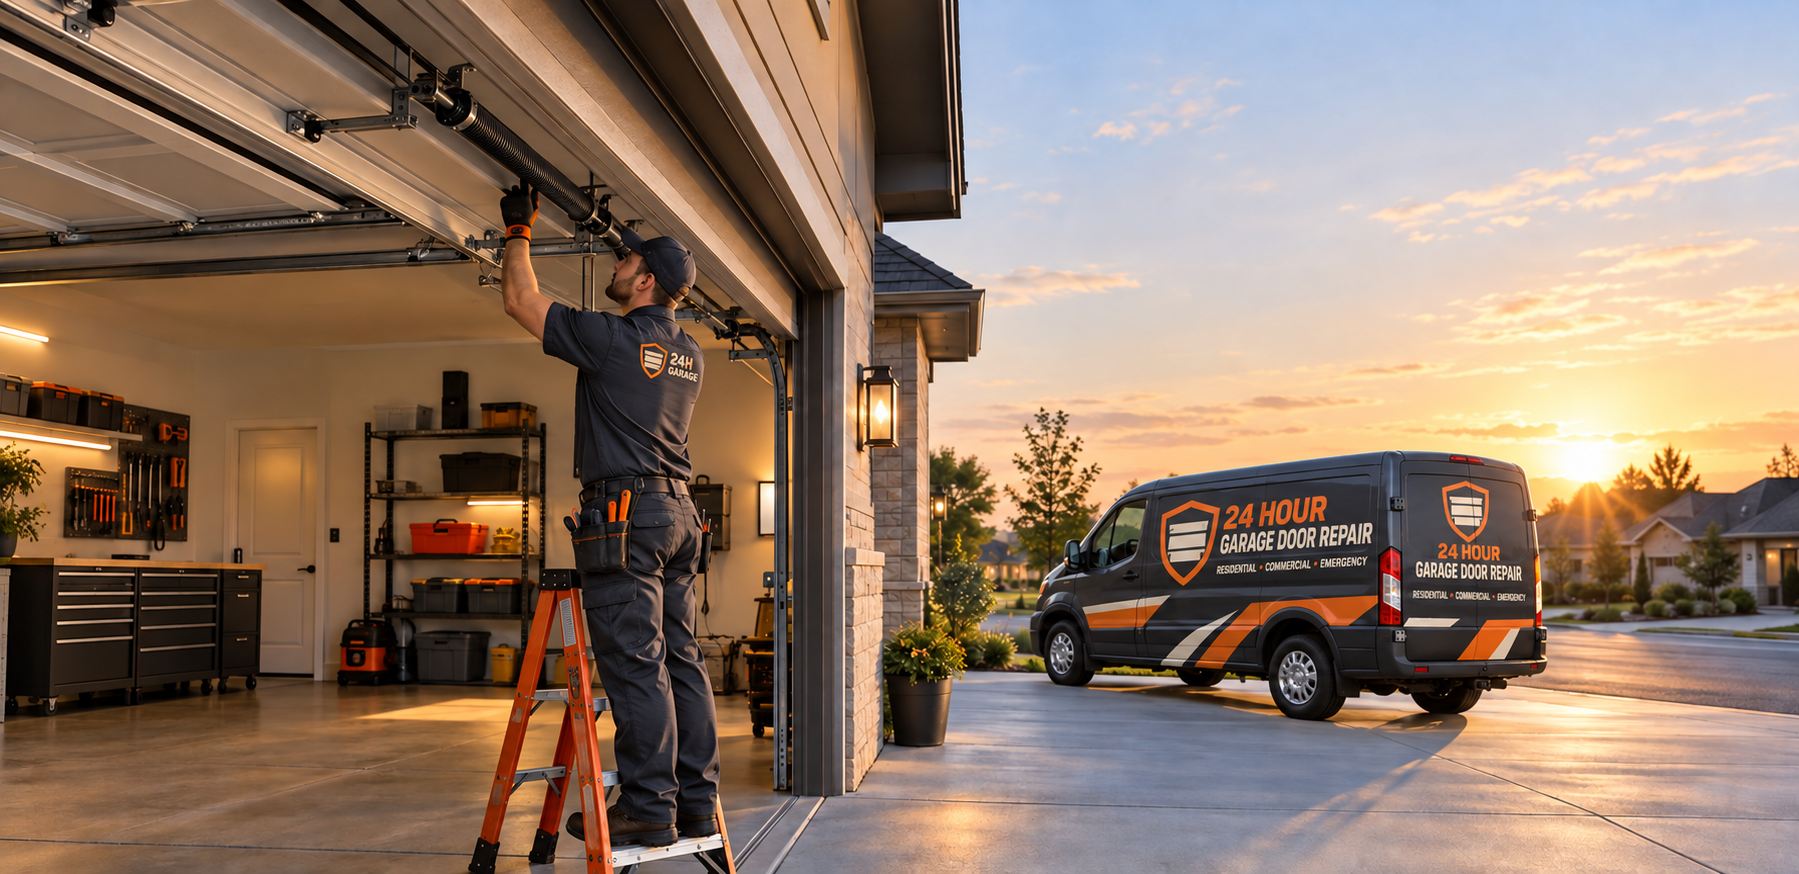
Why this page describes the process but not the method
Owners often want to know what will happen when a technician comes to replace a spring. That is a fair question, and a good company should be willing to explain it. This page walks through the general sequence of a visit and what each stage is for. It does not give instructions for doing the work, and it is not meant to be used as a guide for a do it yourself repair.
The reason is safety. Garage door springs hold a large amount of energy. A torsion spring is wound under tension and an extension spring is stretched under tension, and a mistake in releasing or adding that energy can cause the parts to move violently. People are hurt every year by springs, winding bars and doors that fall. The tools, the measurements and the judgment needed for the job take training and practice.
What the page does give you is a clear picture of the visit, so that you can ask good questions, stay out of the way, and recognize whether the work was done carefully. If you want background on the springs themselves first, read our pages on torsion springs and extension springs.
Before anyone arrives: the phone call
The process starts when you call. We ask what you heard, what the door does now, and whether the door is stuck open or closed. We ask about the size of the door, whether it has windows or insulation, and whether it is a single or a double. If you can safely see the spring area, tell us what you see. These details help the technician bring the right parts and tools, although the final measurements are always taken on site.
On the call we also explain the service call charge, which is the charge for sending a technician to look at the door, and give a quote by phone where the job is straightforward. A complicated job needs an on-site visit before it can be quoted. We do not promise arrival windows, and we will tell you plainly what we know when we speak to you.
While you wait, keep people and pets away from the door. If your vehicle is inside and the door is closed, leave it alone. Do not try to raise the door, and do not keep pressing the opener, which can damage the motor if the spring is broken.
Step one: making the door safe
When the technician arrives, the first task is to find out what condition the door is in. Is it closed or partly open? Is it resting on something? Are the cables intact? A door with a broken spring is only held in place by its own weight or by the opener or track, and if a cable has also come loose the door can be unstable. The technician secures the door in place before touching the springs, using clamps or other tools to hold it so it cannot move.
They disconnect the opener from the door if needed, so that nobody can press the button while work is in progress. They also make sure bystanders are clear of the door and the work area. If you are in the garage, expect to be asked to step back or go inside.
This stage can look slow to someone watching, but it is the most important part of the job. A door that is not secured can move at the wrong moment, and that is how injuries happen.
Step two: inspecting the whole system
With the door secured, the technician looks at everything the spring touches. They inspect the cables for fraying and check that they are seated in the drum grooves. They look at the drums for wear and cracks. They check the shaft and bearings, the center bearing plate if there is one, the bottom brackets, the rollers, the hinges and the track. They look at the door sections for cracks or bending, particularly at the top, where a bad spring can lead to stress.
This inspection matters because springs rarely fail alone. A frayed cable may have been under extra strain. A worn bearing can drag on the shaft. A bent track can make the door bind and force the springs to work harder. If these issues are not found now, they will come back later and may damage the new springs.
Anything the technician finds is explained to you. You are not obliged to approve extra work, and a good technician separates what is urgent from what can wait. For more on the supporting parts, see our pages on lift cables and the center bearing plate.
Step three: measuring and choosing the right springs
A garage door spring is chosen by the weight of the door and the way the system is built, not just by what the old spring looked like. The technician measures the wire size, the coil length and the inside diameter of the old spring where possible. They also consider the height of the door, the size of the drums and the number of springs. They may weigh the door or work out its weight from its construction.
A spring that is too weak will not carry the door, and the opener will strain. A spring that is too strong will make the door fly up and may slam the door or damage the cables. The aim is a spring that balances the door, so that the door can stay still when half open.
Our page on matching springs to door weight explains why this step matters. If the door has been changed since it was built, for example by adding insulation, windows or a heavier panel, the original spring size may no longer be right.
Step four: removing the old spring and installing the new one
The old spring is released and removed in a controlled way, using proper winding bars and the right technique. Any remaining tension is handled before parts are loosened. The technician then removes the damaged spring and inspects the winding cones, set screws and fittings. Worn or damaged hardware is replaced, and if the shaft or cones are corroded they are cleaned or swapped.
The new spring is fitted to the shaft, placed in the right position, and secured to the center bracket and winding cone. The cable is checked and seated on the drum. The spring is then wound to the correct amount of tension for the door, using the proper tools and a counted number of turns appropriate for the system. This is the step where precision matters most, and it is where mistakes cause injuries.
On an extension spring door, the sequence is different. The old springs and their pulleys are inspected, new matched springs are fitted with safety cables, and the cables and pulleys are set so that both sides lift evenly.
Step five: setting tension and testing balance
Once the new springs are in place, the technician adjusts the tension and tests the balance. They reconnect or leave the opener disconnected and lift the door by hand to see whether it stays in position partway up. A properly balanced door should move smoothly, hold still at the halfway point and not drift quickly up or down. If it does not, they adjust the tension until it does.
They then check that both cables are even and that the door is level as it rises and lowers. They run the door through several cycles to confirm it moves smoothly along the track, with no binding, scraping or jerking. If anything is off, they make corrections before leaving.
Balance is also the best sign of a good job. A door that stays where you leave it, and that feels light when lifted by hand, is a door whose springs are doing their work and not leaving the opener to do it. You can read about a simple observation of balance in our garage door balance test article, which describes what to notice without handling the springs.
Step six: opener settings, lubrication and safety checks
After the springs are done, the technician reconnects the opener and checks that it lifts and lowers the door correctly. Changes in balance affect how the opener behaves, so travel limits and force settings may need adjusting. The safety reversal and the photo eye sensors are tested, because these protect people and property from the door closing on them. If you want to know more, see our guides on opener limit and force settings and safety sensor repair.
The technician also lubricates the appropriate moving parts, such as the bearings, hinges and the spring itself where the manufacturer's guidance calls for it. They look over other hardware, including brackets, fasteners and the weather seal at the bottom, and tighten anything loose.
Finally, they clean up and remove the old springs and any packaging. You should be shown how the door works after the repair and told about anything that needs follow up.
What you can expect from the visit and what to ask
A well run visit is calm and methodical. You should be told what was found, what was done and what, if anything, was left. If the technician recommended replacing both springs, they should explain why. If they found other worn parts, they should show them to you. You should be given the information you need to look after the door afterward, such as signs to watch for and how often to have the system checked.
Ask whatever you like. Ask why a particular spring was chosen. Ask whether the cables and drums are in good condition. Ask what the technician would watch for in the next visit. There are no wrong questions, and a technician who is confident in the work will welcome them.
If you have a broken spring now, the best step is to stop using the door and call. Describe what you heard and what the door is doing, and we will explain how the visit and the service call charge work. Call when you are ready.
Common questions owners have about the visit itself
Owners often wonder whether the technician will need to take the door apart. For most spring jobs the door stays on its track and is held in place while the springs are changed. Individual sections are not usually removed, though if damage is found, such as a cracked panel or a bent track, that is a separate repair and is explained to you first.
Another frequent question is whether the opener has to be replaced after a spring breaks. Usually it does not. The opener may have been strained if the button was pressed repeatedly, so the technician checks it, but a working opener generally goes back into service once the door is balanced. If the opener was already worn or has been damaged, the technician will say so and show you what they found.
Owners also ask what happens to the old springs. They are removed and taken away as part of the visit. If you would like to see the break, ask, and the technician can point out where the metal gave way. Seeing the crack is a good way to understand that the failure came from fatigue, not from anything you did.
Local conditions in South Florida garages
Garages in this area have some features that affect the work. Heat inside a closed garage can make the work uncomfortable and affects lubricants. Humidity and salt air mean hardware is often corroded, so a technician may find set screws or cones that are stuck, rusted or damaged, and these may need replacing. Rusted fasteners that would normally come loose easily may need extra care.
Some garages are tight. Townhomes, condominiums and older houses may have limited headroom or storage racks close to the door, which makes access harder. If you have shelves or stored items near the door, clearing them before the visit makes the work smoother. If you live in a community with an association, check whether you need to tell the management office before the visit.
After a storm or a flood, springs and hardware may have been wet for a long time and corroded more than usual. Tell the technician about any water in the garage. Our guide to garage doors after a hurricane explains what else to check once the weather passes.
Questions people ask
How long does a spring replacement take?
It depends on the door and what else is found during the inspection. A straightforward job is usually completed in a single visit, but we do not promise a fixed time. The technician takes the time needed to secure the door, choose the right springs and test the balance. Rushing the safety steps is the wrong way to save time.
Do I need to be home during the repair?
Someone should be available to give access and to approve any added work. You do not need to watch, and it is better to stay clear of the work area. If you cannot be there, tell us when you call, because an adult must be reachable to confirm the work and receive an explanation.
Will the technician replace both springs?
On a door with two springs, replacing both is often recommended because they have done the same work and the second may be near failure. The technician looks at the remaining spring and explains the choice. You decide what to approve once you have heard the reasoning.
Why does the technician check cables and rollers if only the spring broke?
Because parts that share the load wear together, and a worn cable or bent track can damage new springs. Checking the full system catches problems while the door is already secured and apart. Anything found is explained to you, and you decide what to do about it.
Is it safe to do a spring repair myself if I watch a video?
We strongly advise against it. Springs hold a large amount of energy and a slipped tool can cause serious injury. Correct sizing and tension also need measurement and experience. Leave the work to a trained technician and keep your own role to observing from a safe distance and calling.
What will the phone quote include?
On the phone we explain the service call charge and, for a straightforward spring job, give a quote based on what you describe. If the job turns out to need more than expected, the technician explains that on site before any added work is done. Call and tell us what the door is doing so we can start.
Dealing with "How Spring Replacement Works"? Tell us the door type, the noise or the failure, and what you tried. We will say what the job probably involves and whether it needs a technician on site.