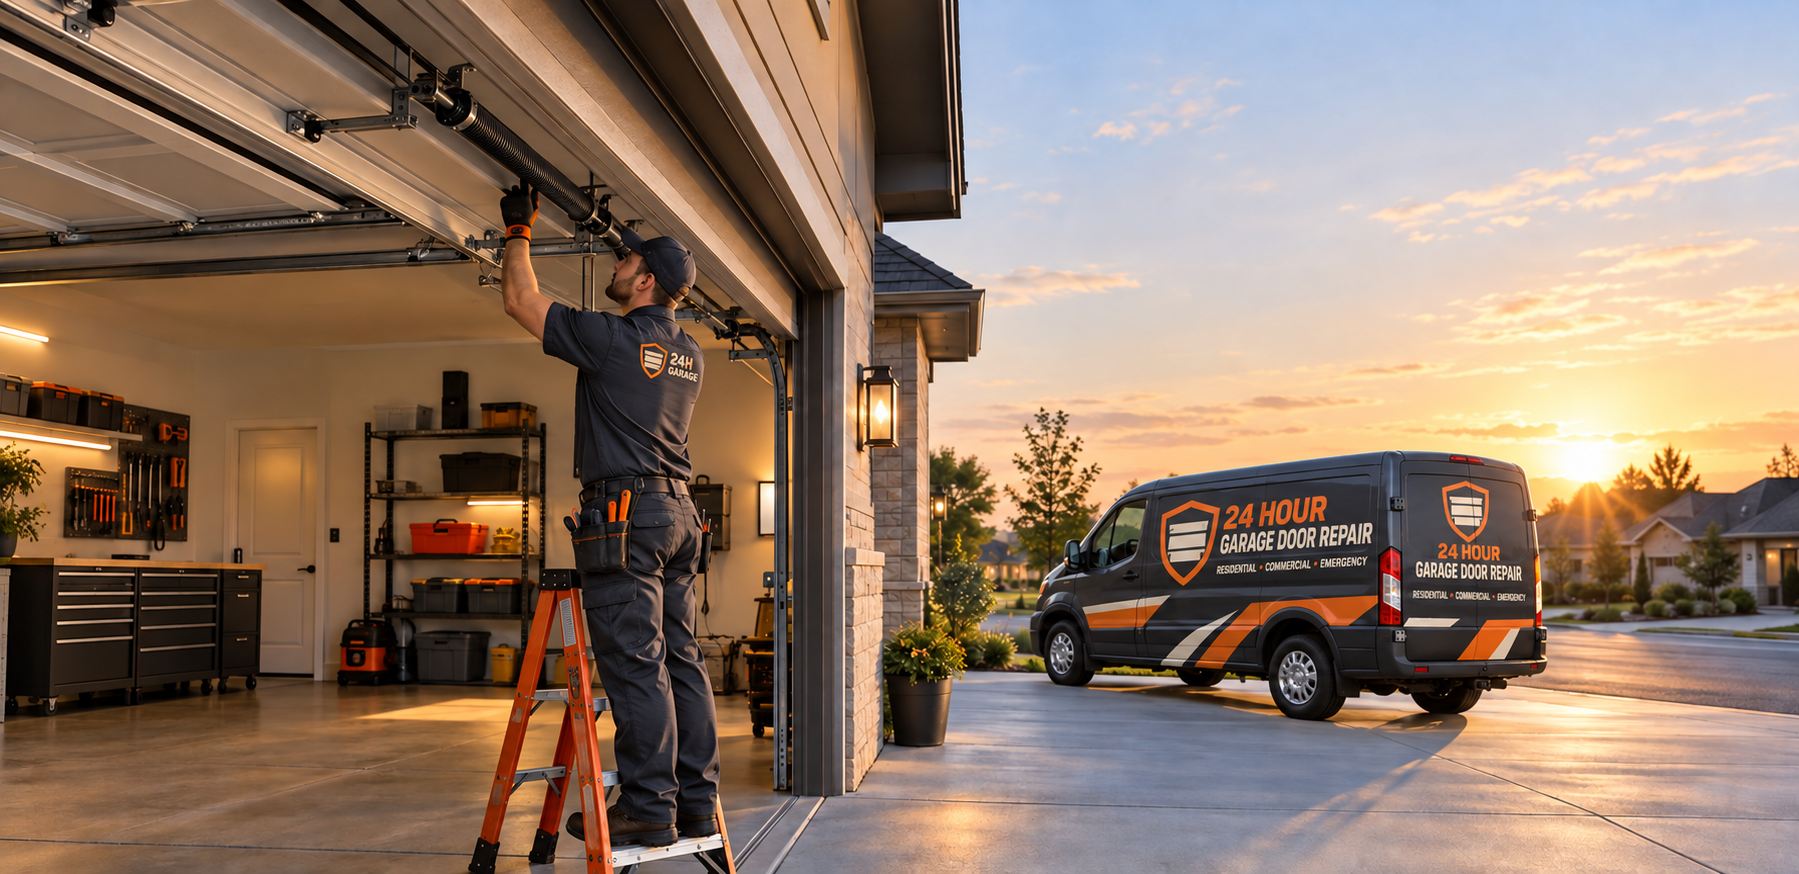
Before any work starts
Good installations begin with the paperwork and measurements, not with tools. The opening is measured for width and height, and so are the headroom above the door, the side room along each jamb and the depth of the garage for the tracks and opener. These numbers decide which door and track layout will fit, and whether low-headroom or other nonstandard hardware arrangements are needed.
In South Florida, the door must also satisfy wind requirements. The model, its approval documentation, the anchoring method and the permit all need to line up before the old door comes out. Your installer or the permit office will tell you what applies in your city. If you live in a community with an association, approval of the door's color and style should be in hand as well, as explained in our HOA approval guide.
Finally, this is the time to decide on the opener. A new door is often paired with a new operator, and the type, power and features should be chosen along with the door. Our opener types guide and the page on opener horsepower and capacity are useful here.
Clearing the space and preparing the site
On installation day the garage needs to be clear around the door. Move vehicles out, take down anything hanging on the walls near the tracks and clear shelves that sit close to the door opening. Technicians need room to lay out sections, roll out tracks and work on both sides of the opening.
Pets and children should be kept away from the work area. The job involves heavy panels, open spring hardware and tools, and a half-assembled door is a hazard to anyone who wanders in. If the garage is the main entry to the house, plan for a different way in and out for the duration.
Power is needed for tools and for testing the opener. If you are replacing an old opener, the technician will check the outlet and wiring. Any electrical work beyond plugging in a unit is a separate matter and should be handled by a qualified electrician.
Removing the old door safely
Removal is more dangerous than most people expect. The old door is held up by springs that store a great deal of energy, and unwinding or releasing them without proper tools and training can cause serious injury. For that reason, removal is done by trained technicians who relieve the spring tension in a controlled way, then disconnect the cables and take the sections apart.
The opener is disconnected from the door, and the sections are lowered or unstacked one at a time, working from the top down. Hinges and fasteners are removed, tracks are unbolted from the jambs and the header hardware is taken down. The old door is then carried out and set aside for disposal.
This is not a step to attempt yourself, even to save time. If you are tempted to disassemble an old door on your own, please read our guides on torsion springs and safety cables first, and then leave it to a professional.
Checking the opening and framing
With the old door out, the opening is exposed and can be inspected properly. The installer looks at the jambs, the header and the surrounding framing. Wood jambs in a humid climate can be soft, split or rotted, especially at the bottom where water collects. Steel jambs can corrode. Anchors left over from the old door may be loose.
The framing has to hold the new door's tracks and withstand wind loads, so it needs to be sound and plumb. If the jambs are damaged, they may need repair or replacement before the door is hung. In a hurricane-rated installation, the way the jambs are anchored to the structure is part of the approved assembly, so shortcuts here defeat the purpose of the rating.
The floor is checked too. An uneven slab affects how the bottom seal meets the ground and whether the door closes square. Minor differences are handled with the bottom seal and the way the bottom section is set. Larger problems, like a slope that lets water run in, might need other measures. The guide on jamb hardware and framing explains what is looked at.
Assembling the sections and hanging the tracks
The new door arrives in sections, usually stacked and wrapped. The bottom section goes in first, with its seal and bottom brackets attached, and is set square against the floor and the jambs. Each following section is stacked, joined with hinges and held in place as the next goes on. Rollers are fitted into the hinges, and each section is fastened to the one below.
The vertical tracks are mounted on the jambs, and the horizontal tracks run back toward the rear of the garage, supported by angle iron or track hangers anchored to the ceiling structure. Tracks must be level, parallel and positioned exactly, because even small errors cause binding, noise and uneven wear. Our guide on garage door tracks explains why alignment matters.
Reinforcement struts, if specified, are added to wide sections. Windows, locks and handles are installed. At this stage the door is still resting on the floor, not yet balanced by springs, and it is dangerous to lift without the counterbalance in place.
Springs, cables and balance
Now the counterbalance system goes in. On most modern doors that means torsion springs mounted on a shaft above the opening, with cable drums at each end. The springs are selected for the door's weight and height and wound to the correct tension, a task that requires winding bars, proper technique and respect for the stored energy. The cables run from the drums down to the bottom brackets on each side.
The goal is a door that is balanced: when you lift it halfway and let go, it stays put. A properly balanced door can be lifted by hand with little effort and moved smoothly by a small opener motor. A door that is too heavy or too light is hard on the opener and unsafe.
Everything about this step is a professional's job. See our spring replacement overview and the balance test guide to understand what is happening, without trying it at home.
Installing the opener
The opener is mounted to the ceiling or header, with a rail or shaft connected to the door. On a standard overhead unit the rail runs from the header wall to the motor head, and a trolley or carriage connects to the top section through a bracket and arm. A wall-mount unit sits beside the door and drives the shaft directly, freeing up ceiling space.
The wall control is mounted inside the garage at a height out of reach of small children, and safety sensors are fitted on each side of the opening a few inches above the floor. They must be aimed at each other so the door reverses when something crosses the beam. Our pages on opener installation and sensor alignment go into detail.
After mounting, the opener's travel limits and force settings are programmed so the door stops at the right points and reverses when it meets resistance. Remotes and keypads are paired. Settings are never set to push through an obstruction, since a properly adjusted opener is a safety device.
Testing, adjusting and walking you through it
Before the technician leaves, the door is cycled several times. The installer watches how it moves, listens for noise and checks that the sections track evenly. Balance is checked again with the opener disconnected. The sensors are tested by placing an object in the path, and the reversal behavior is confirmed.
Weather seals are checked for even contact with the floor and the jambs, and hardware is tightened. Any lubrication the maker recommends is applied. The installer should show you how the manual release works, how to program remotes and where the main points of care are.
This is a good moment to ask questions. What should you look at each season? What sounds are normal for this model? Who do you call if something changes? Keep any paperwork, product approval documents and manuals together. They are useful later when a part needs replacing or an inspector asks.
Inspection, permits and paperwork
Where a permit applies, a building inspector may need to see the finished installation. The approved product, the anchoring and the labeling on the door can all be checked. Having the approval documents on site and the door accessible makes this smoother.
The details of what must be submitted and inspected differ by city and county, so we do not describe them as if they are the same everywhere. Ask your installer how the process works in your municipality, and read our general guide to garage door permits in South Florida.
Keep the final paperwork with your house records. If you sell the home, buyers and insurers may ask for it, and it can save time if a question comes up about the door's wind rating.
How the installation day tends to unfold
Every job is different, and we do not promise a schedule, but the order of work is predictable. The crew starts by confirming the door and parts against the order and checking the opening again. Removal of the old door follows, then any repairs to the jambs. Sections and tracks go in next, then the springs and cables, then the opener if one is included.
Weather matters in this climate. Afternoon storms in summer can interrupt work, and a half-installed door is not something to leave open to rain, so the crew may stop, secure the opening and return. Do not be alarmed if the day is longer or split in two because of weather or a part that needs attention.
If something unexpected turns up, such as rotted framing behind the old jamb or a slab with a larger slope than expected, the technician will explain what was found and what it means for the work. Changes to the scope are discussed with you before they go ahead.
Mistakes that make installations go wrong
Most trouble comes from a handful of avoidable errors, and knowing them helps you ask the right questions of any installer.
Reusing old springs, cables or tracks on a door that has a different weight is one. Mismatched parts make for a poorly balanced door and shorten the life of the opener. Skipping the framing check is another, because a new door hung on soft jambs will not hold its alignment or its wind rating. Ignoring the approved assembly is a third, since substituting fasteners, tracks or reinforcement can break the match with the product approval.
A fourth is leaving the opener settings on autopilot. The travel and force limits must be set for the actual door, and the sensors must be tested. Finally, some owners skip the walk-through at the end. Ask to see the manual release, ask what to watch for in the first weeks and keep every document you are given. A few minutes of questions on the day can prevent a lot of calls later.
What to expect afterward and when to call
A new door has a short break-in period. Minor settling, small adjustments to the limits and a sound or two as parts seat are common. Ask the installer what is normal. Anything that looks wrong, such as a door that binds, reverses without cause, tilts to one side or makes a new grinding noise, should be reported promptly rather than tolerated.
Over the following months, keep to a simple routine: look, listen, clean and lubricate as the manufacturer advises. Our maintenance schedule guide offers a practical outline.
If you are planning a new door and want to know what the process looks like for your garage, call. Quotes are given by phone, larger projects require an on-site visit to measure and check framing, and the service call charge is explained before dispatch. Describe your opening, your wind and association concerns and your opener plans, and we will map out the steps.
Questions people ask
Can I install a new garage door myself?
It is strongly discouraged. The springs hold dangerous stored energy, the panels are heavy and awkward, and wind-zone anchoring has to be right. Mistakes can cause serious injury and leave the door unsafe. Installation and spring work are best left to trained technicians.
Why does installation involve a framing check?
The tracks and the door depend on sound jambs and a solid header. Humidity can soften wood framing and corrode steel, and old anchors may be loose. In wind zones, the way framing is anchored is part of the approved assembly, so weak framing has to be repaired first.
Do I need a new opener with a new door?
Not always, but it is often sensible. The opener must be able to handle the new door's weight and have working safety features. An old unit may be worn or lack current sensors. A technician can assess the existing opener during the visit.
What should I do to prepare my garage?
Move vehicles and clear the area around the door, shelves near the tracks and anything hanging close to the opening. Keep children and pets away from the work area. Make sure there is a working outlet and have your approval or association paperwork ready.
Who handles the permit for a new garage door?
Usually the installer files the permit with the city or county, using the approved product documentation. Requirements differ by municipality, so ask how it works locally. Keep the approval documents and final paperwork with your home records afterward.
For "How New Door Installation Works", a phone call comes first. Describe the springs, the opener or the panels, and we will explain how the work is done and what the visit charge covers.
Related pages
Choosing between a new door and continuing to repair
Deciding on a new door is rarely a single moment. It usually builds from several smaller repairs that each seemed reasonable on their own. A technician looking at the whole picture considers the condition of the sections, the state of the tracks and hinges, the age of the springs, and whether the opener still matches the door. When most of those parts are worn at once, the sum of individual repairs starts to approach the effort of a new installation, and a new door brings matched hardware, fresh weather sealing and a balance set up for the actual weight of the door.
There are also reasons that have nothing to do with wear. A door that no longer suits the house in style, insulation or wind rating may be worth replacing even if it still moves. Damage from an impact can bend several sections beyond economical repair, and discontinued designs sometimes make matching replacement panels difficult. On the other hand, a door that is structurally sound with one failed spring or a worn roller set is usually better served by a targeted repair. An honest assessment looks at both options and explains the trade-offs before anyone commits to either.
Ask the technician to walk you through what they see, not just what they recommend. Good reasoning sounds like a list of observations: sections that have lost rigidity, hinges that no longer hold their alignment, tracks with kinks, drums or cables with fraying. If you understand those observations, you can judge the recommendation yourself. The scope and any quote are explained before work begins, and you can take time to consider. A confident recommendation holds up to questions, and a thoughtful installer is glad to answer them.
Choosing materials, insulation and windows with the opening in mind
The opening itself shapes many choices. Its width and height determine the section count, the track radius and the spring size, while headroom above the door and room beside it decide which kinds of hardware will fit. A garage with limited headroom may need low profile track, and a garage with little side room may suit a wall mounted opener better than a traditional one. Sharing measurements and photos of the ceiling area before the visit helps the technician bring the right options rather than discovering constraints on installation day.
Material and construction affect weight, which affects everything else. Heavier doors need stronger springs and more capable openers, and the same hardware that serves a light single layer door will struggle with an insulated or wood door. Windows add visual appeal but change the way the door handles wind and impact, and some owners prefer solid panels on the street side for privacy. Think about how you use the garage. A workshop or a room with a window to the house may benefit from insulation, while a simple parking space may not.
Finish and color matter more in this climate than many owners expect. Dark colors absorb heat and can stress the surface over time, and salt air tests coatings near the coast. Ask how the finish is applied, what maintenance it needs, and whether homeowner association rules limit your choices. It also helps to bring photos of neighboring homes whose doors you like, since a picture communicates style faster than a description. Whatever you choose, the final scope is confirmed in plain terms before work starts, so there are no surprises about what is being installed.